


Cyanotype for nature journaling
Sun printing in your pocket

I’ve had an art practice with cyanotype printing for a few years and have been keeping a sketchbook and nature journal for even longer, but I never really combined the two until this summer. This post is all about using cyanotype in your nature journals. It’s a really fun tool and quite portable too!
What is cyanotype?
Cyanotype is an alternative photographic process where a chemical solution (usually potassium ferricyanide and ferric ammonium citrate mixed together) is reactive to UV light and will create a Prussian blue negative image. When exposed to UV light, the Iron in the ferric ammonium citrate goes through a reduction process (gains an electron) which allows it to react with the potassium ferricyanide and makes it non-water soluble. The area in a cyanotype that is exposed will stay blue, while the area that is in shadow will wash away, leaving pale blue or white. This process was used to to make the first photographic field guide in the mid-1800s (by Anna Atkins), copy technical drawings to create “blue prints”, and is used by artists today.
If you want to learn more or teach cyanotype (it is great for all different ages) I highly recommend this series that the Virginia Museum of Fine Arts put together:
Supplies:
It is pretty simple to make your own cyanotype paper or surface. I often do this with watercolor paper or fabric, but need time for the solution to dry in a dark space. I purchase cyanotype kits from Jaquard or Photographers’ Formulary. These come in two bottles (sometimes you need to add water) that you mix them together and apply to whatever surface you want to print on. Note that the solution is not stable so once you mix the two parts together you want to use it up.
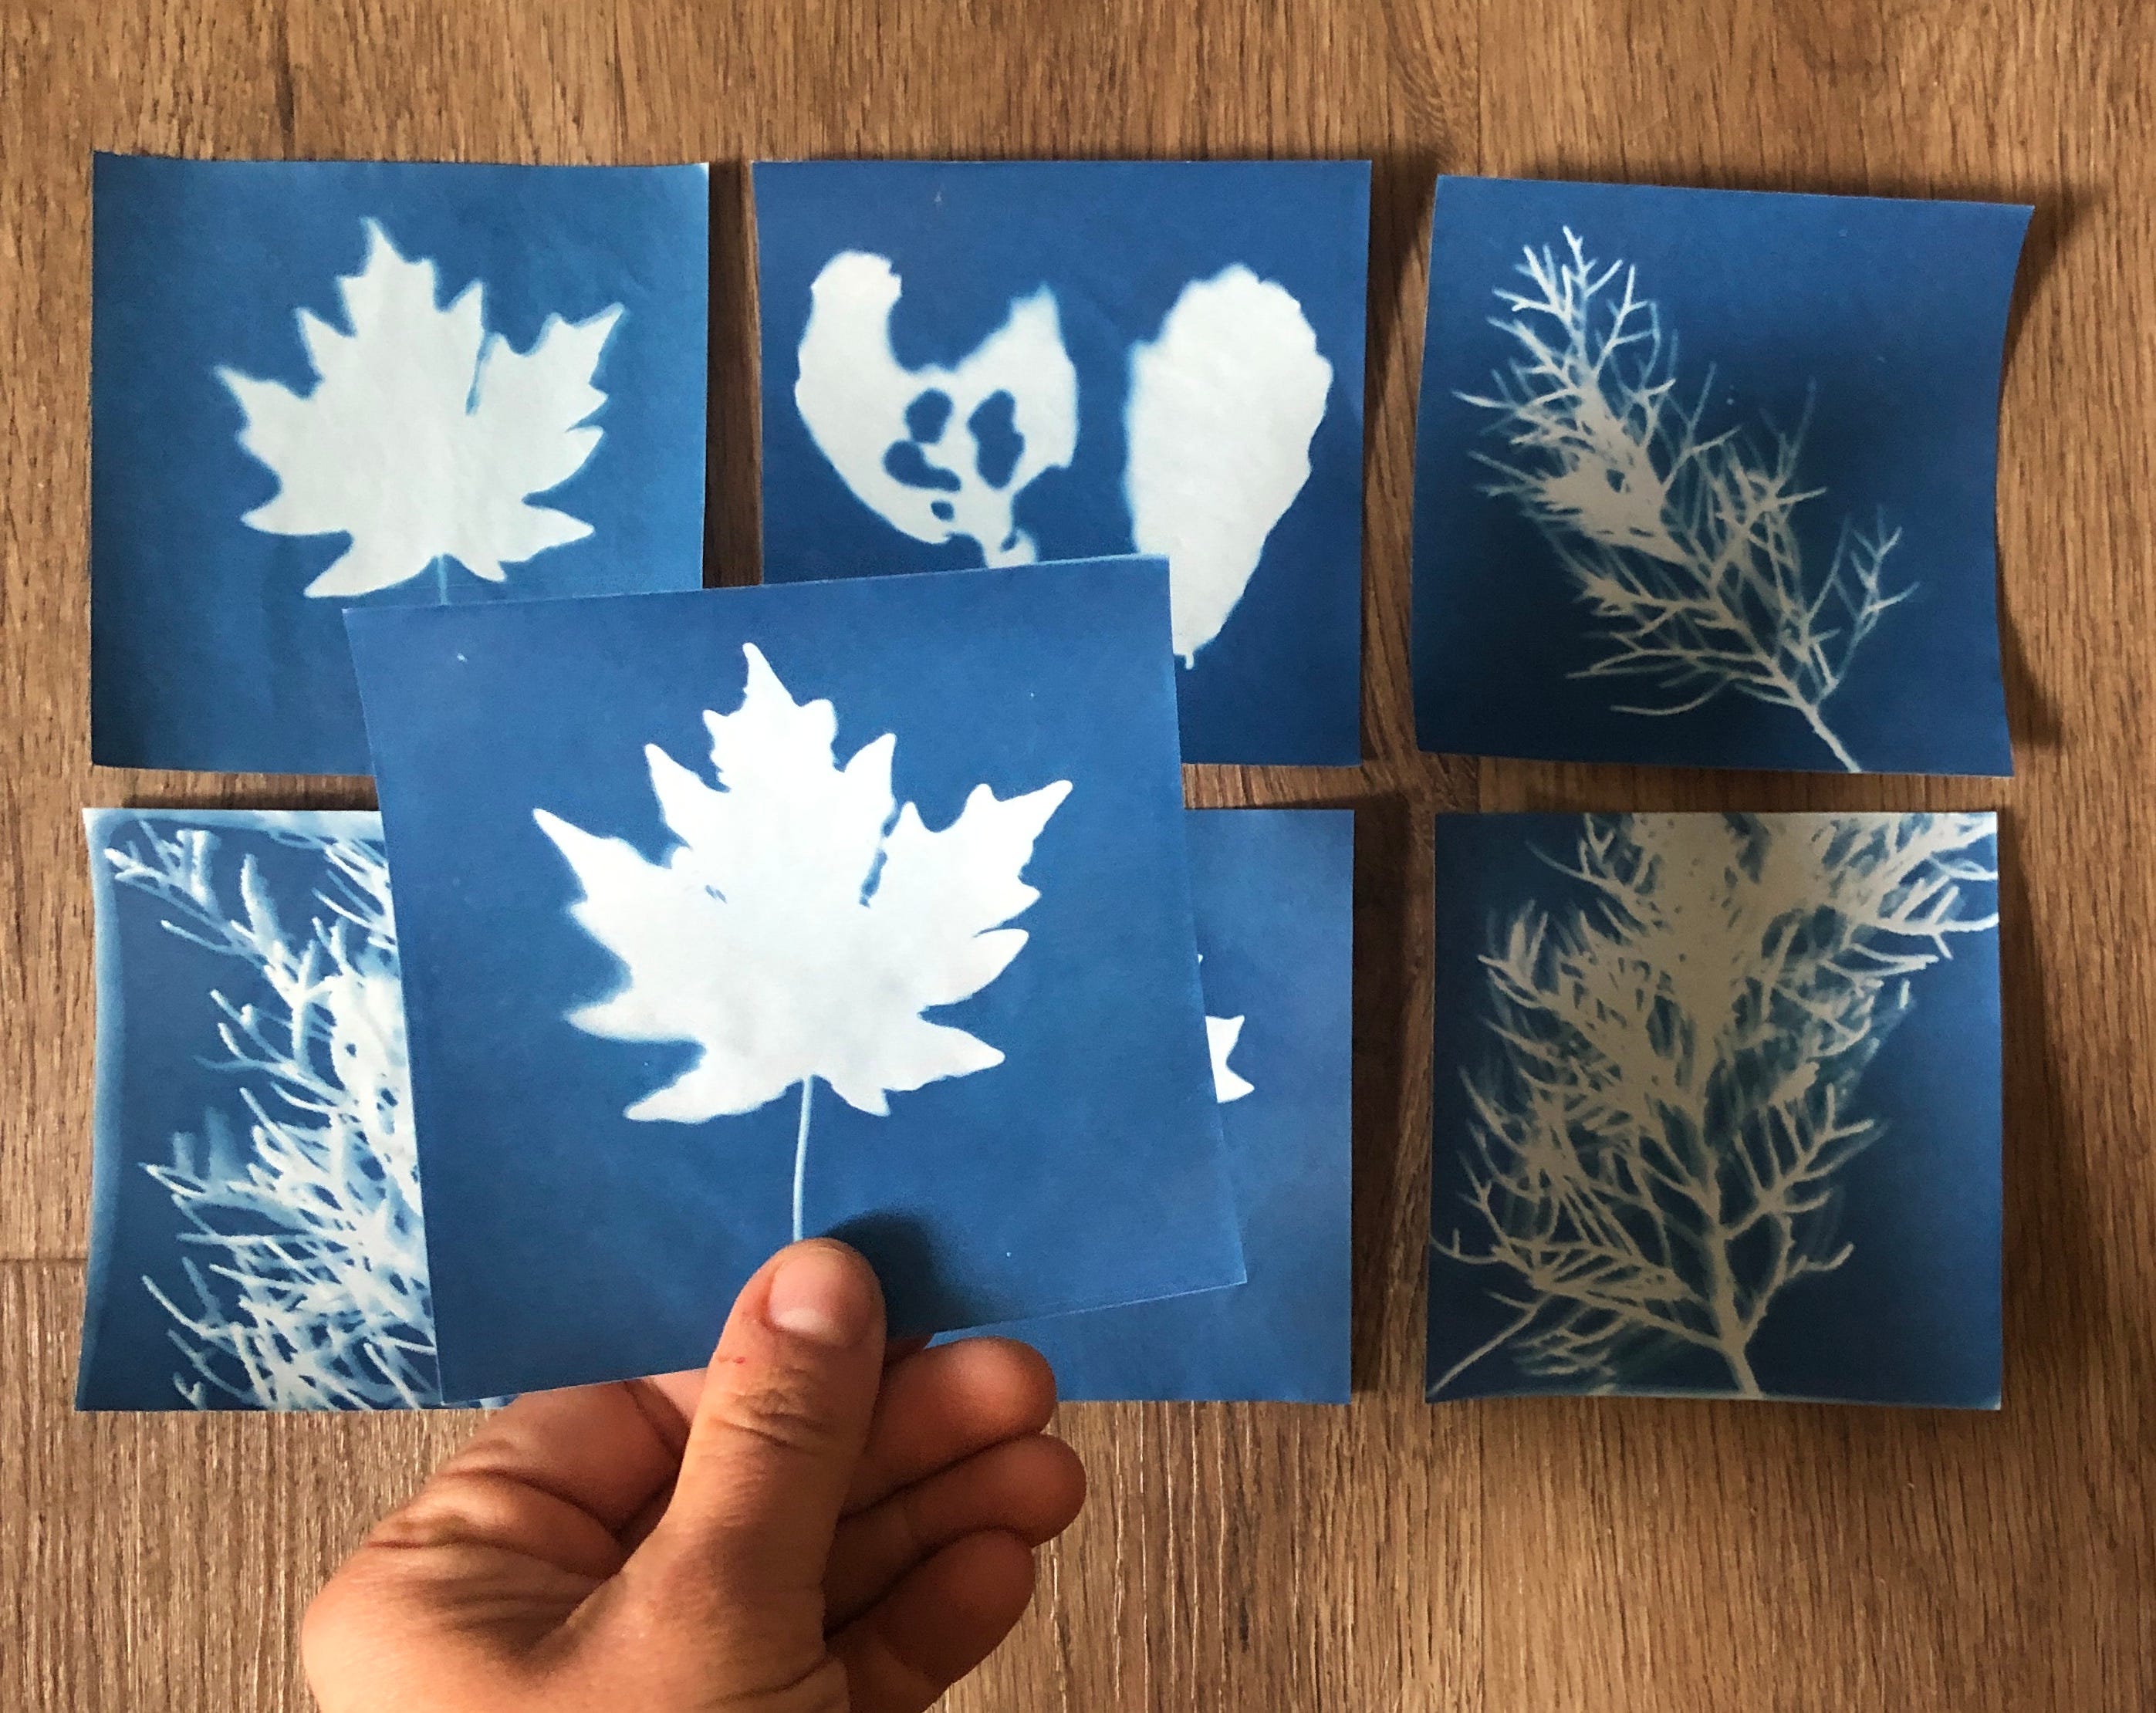
For nature journaling, I love using a simple pre-made kit from Nature Print Paper. Their paper is thin and isn’t as good quality as what I use for other work, but it exposes really quickly, is light to carry, and because it is thin it glues well into my nature journal.
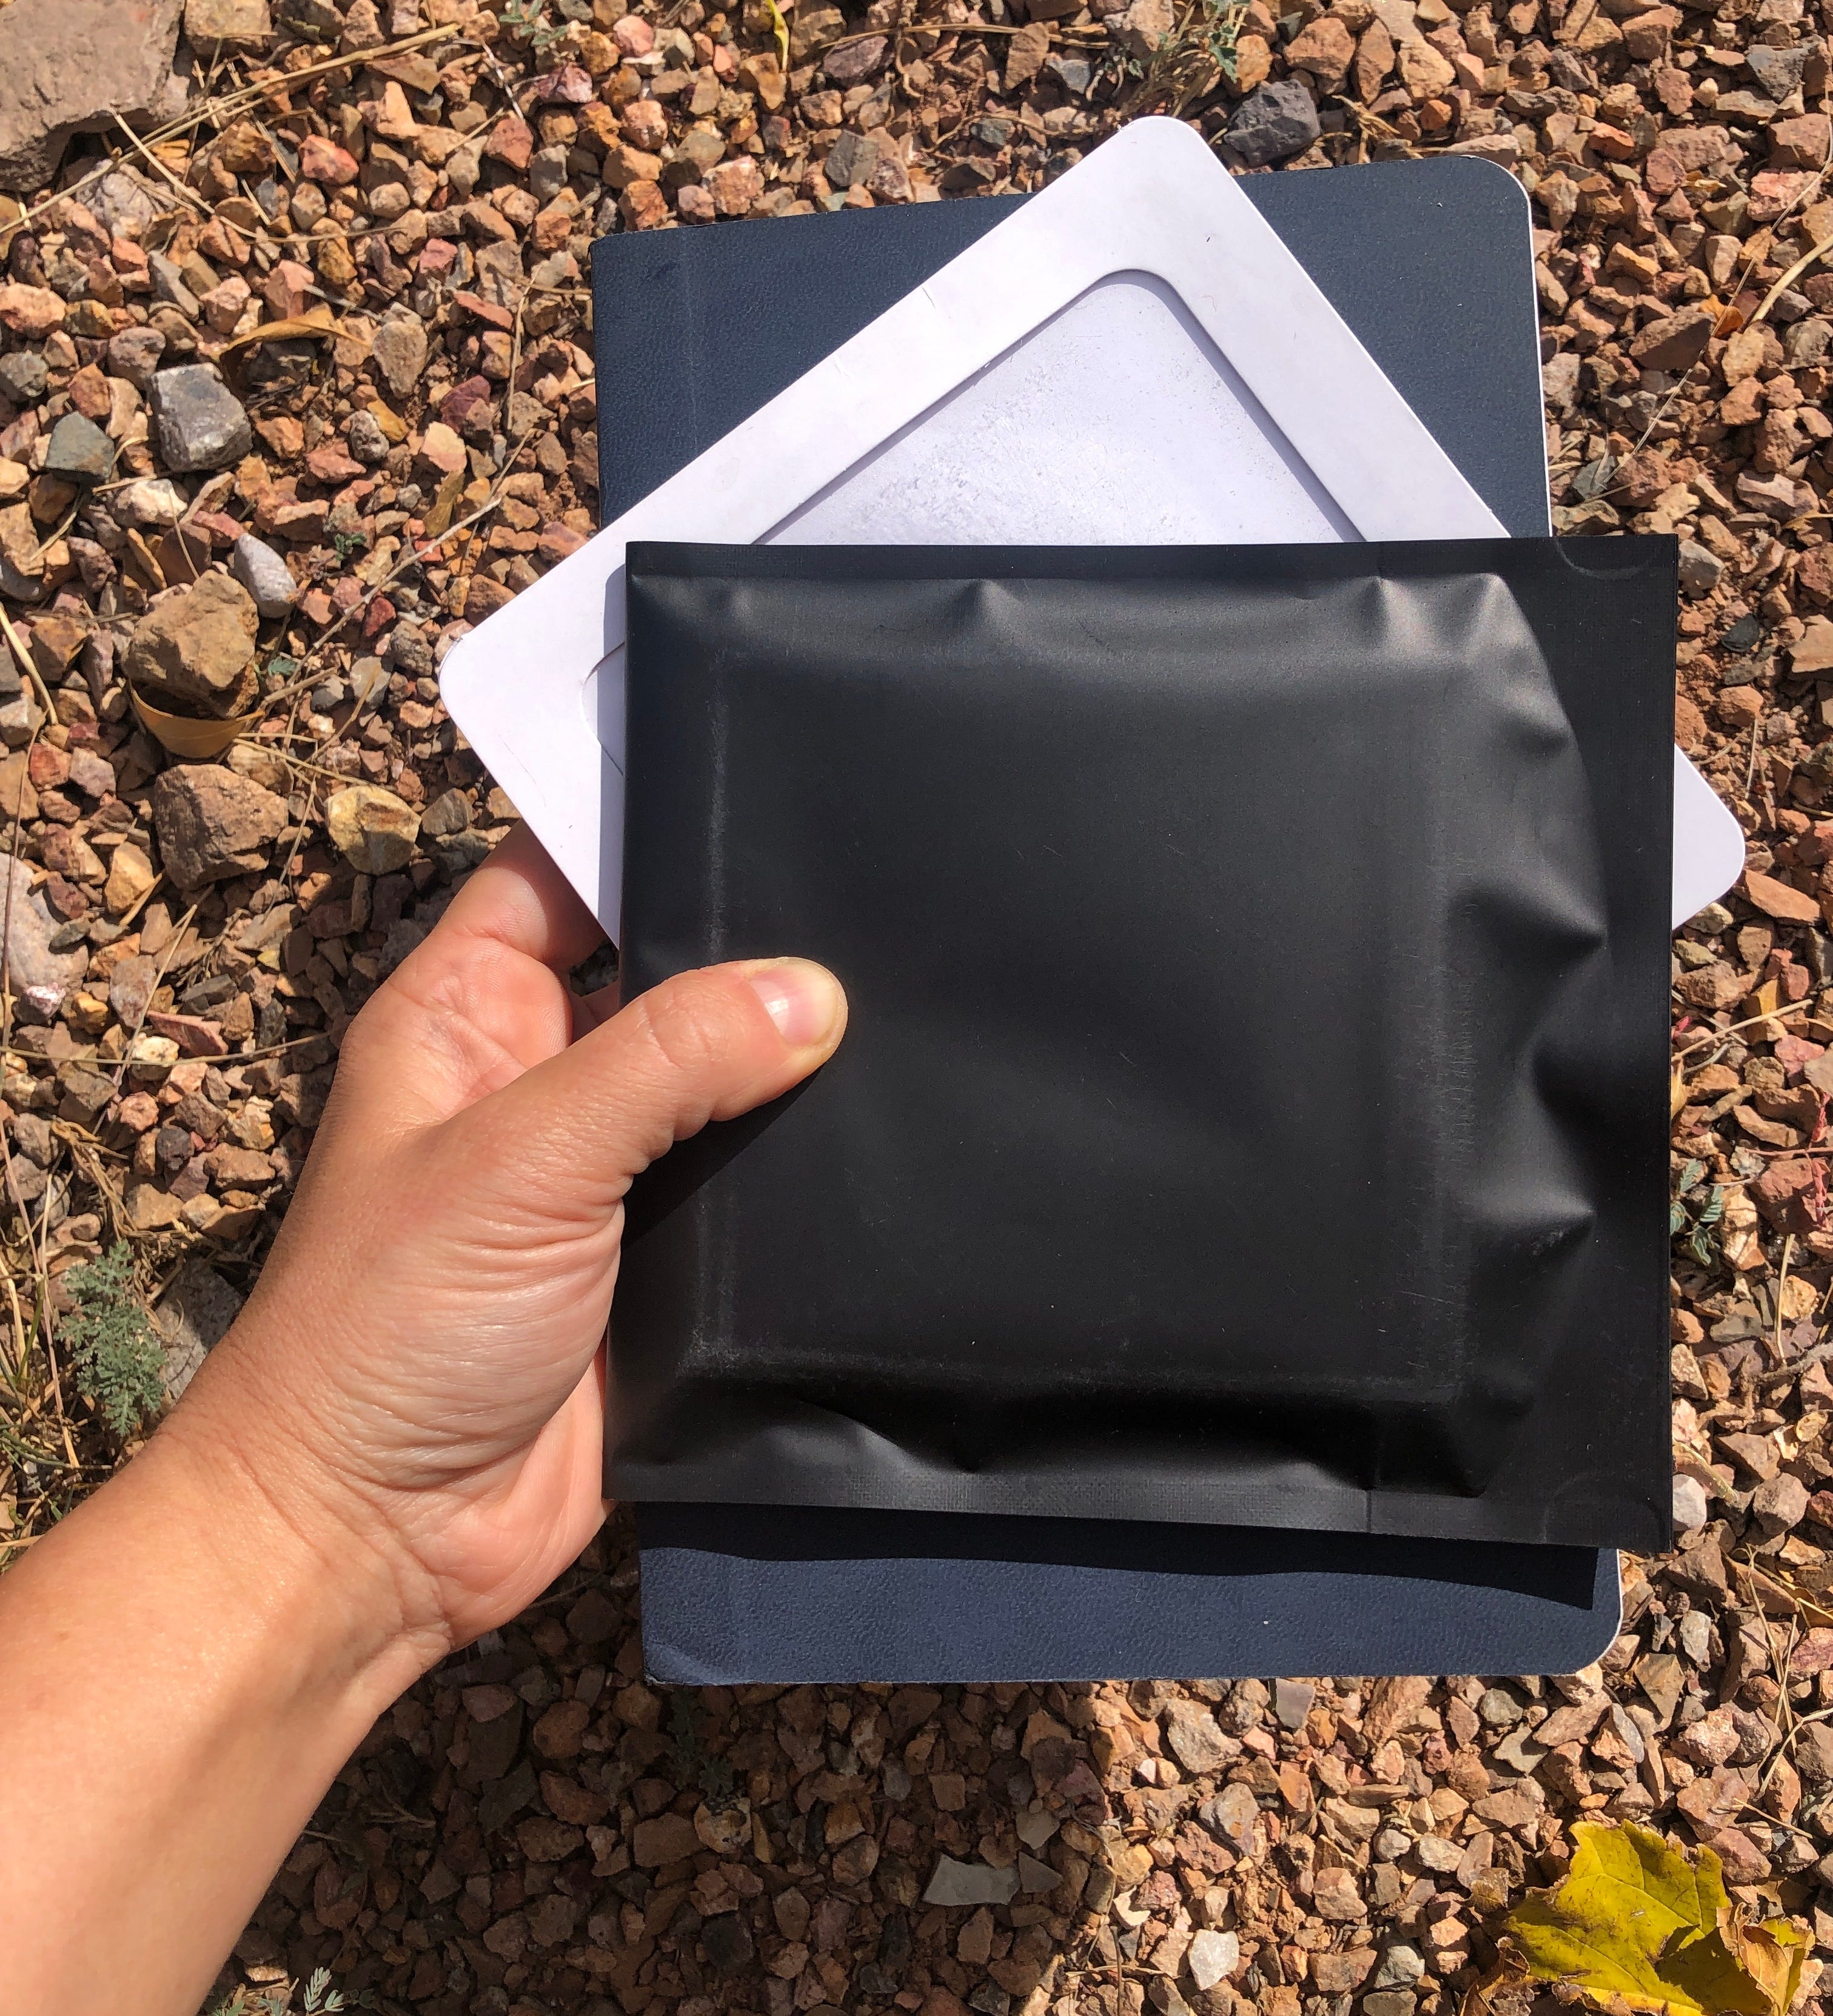
I carry the little plastic window/ folder in the kit, a black bag with the square treated paper (I added a second light proof bag), tape, and dish to put water in that is big enough to fit the 4 x 4” paper (you could also try a plastic bag). My little kit weighs about 4 oz and fits tucked into my journal (except for the water dish which I pack and extra layer around).
Process:


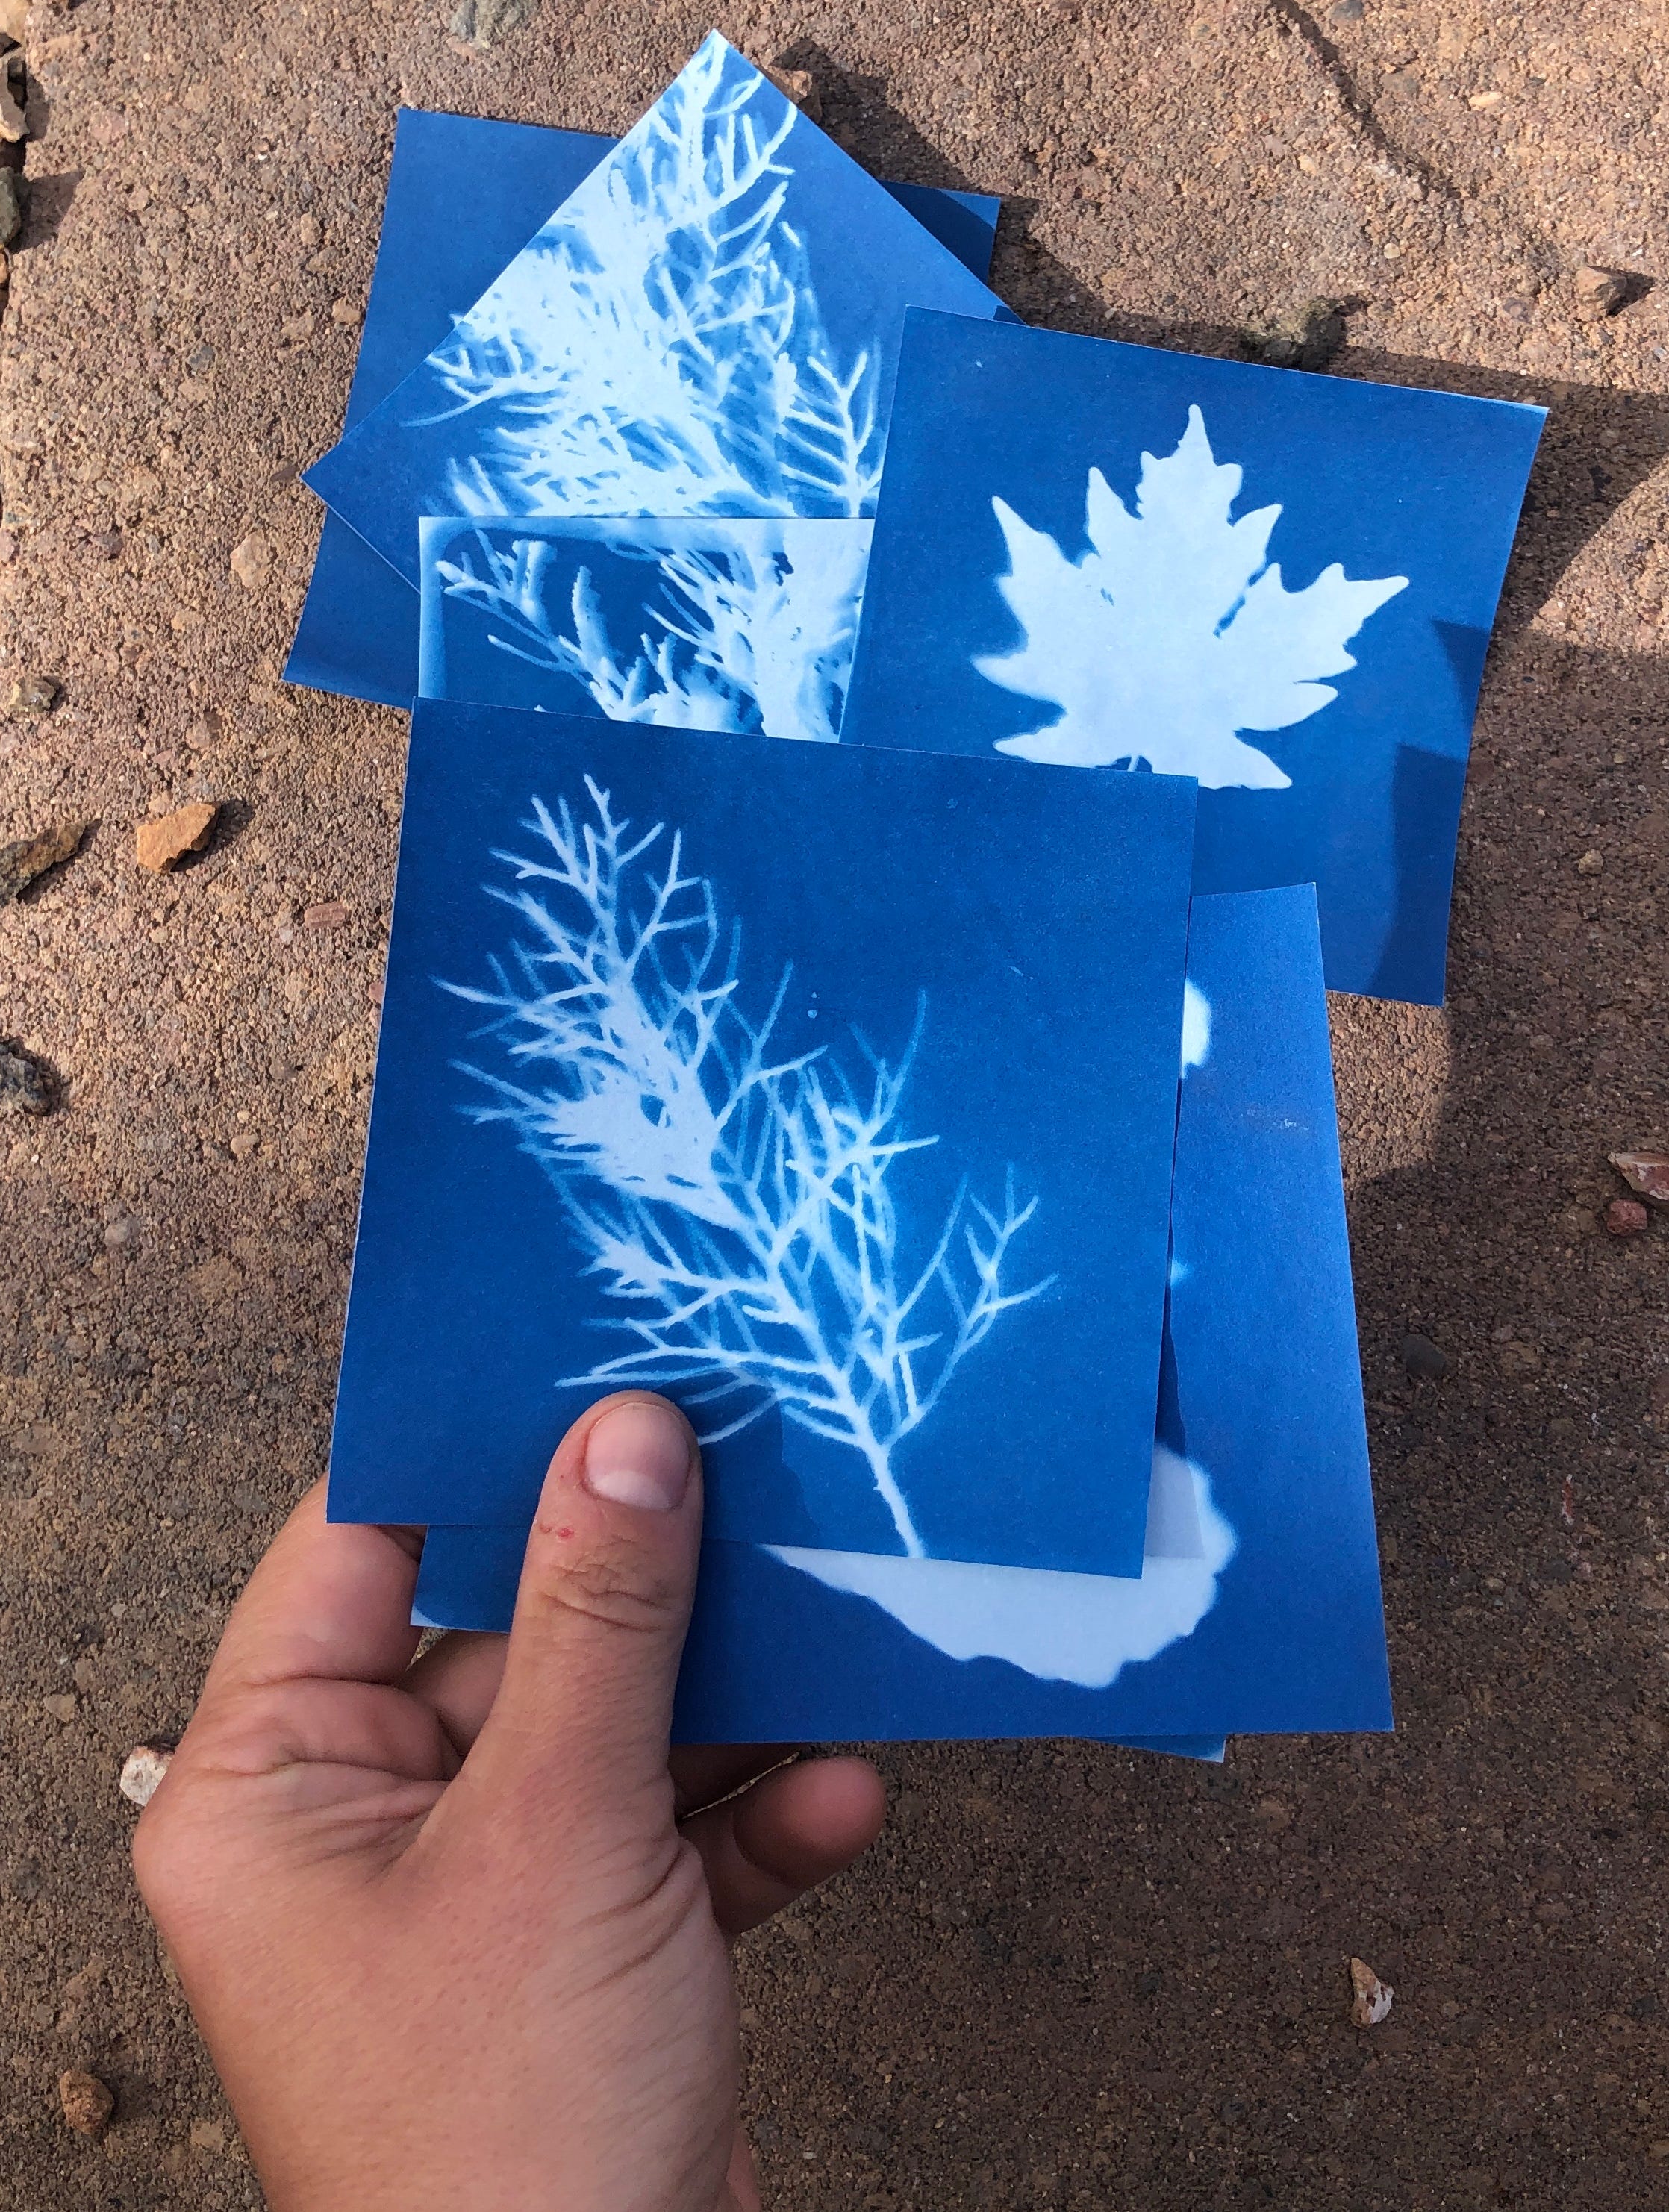
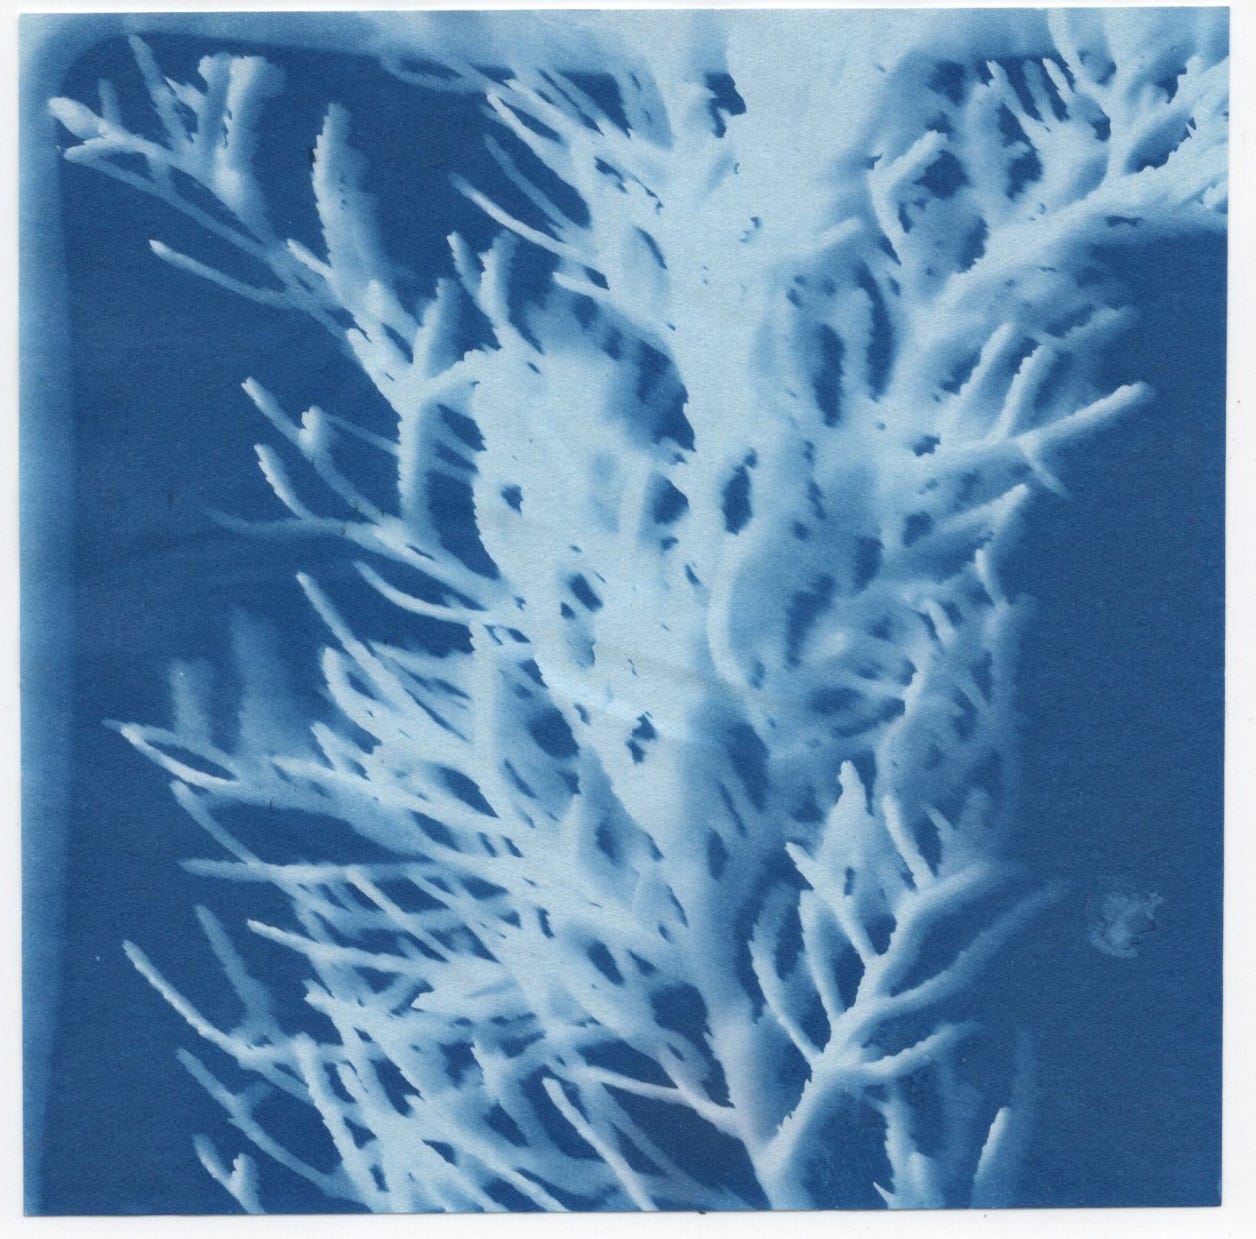
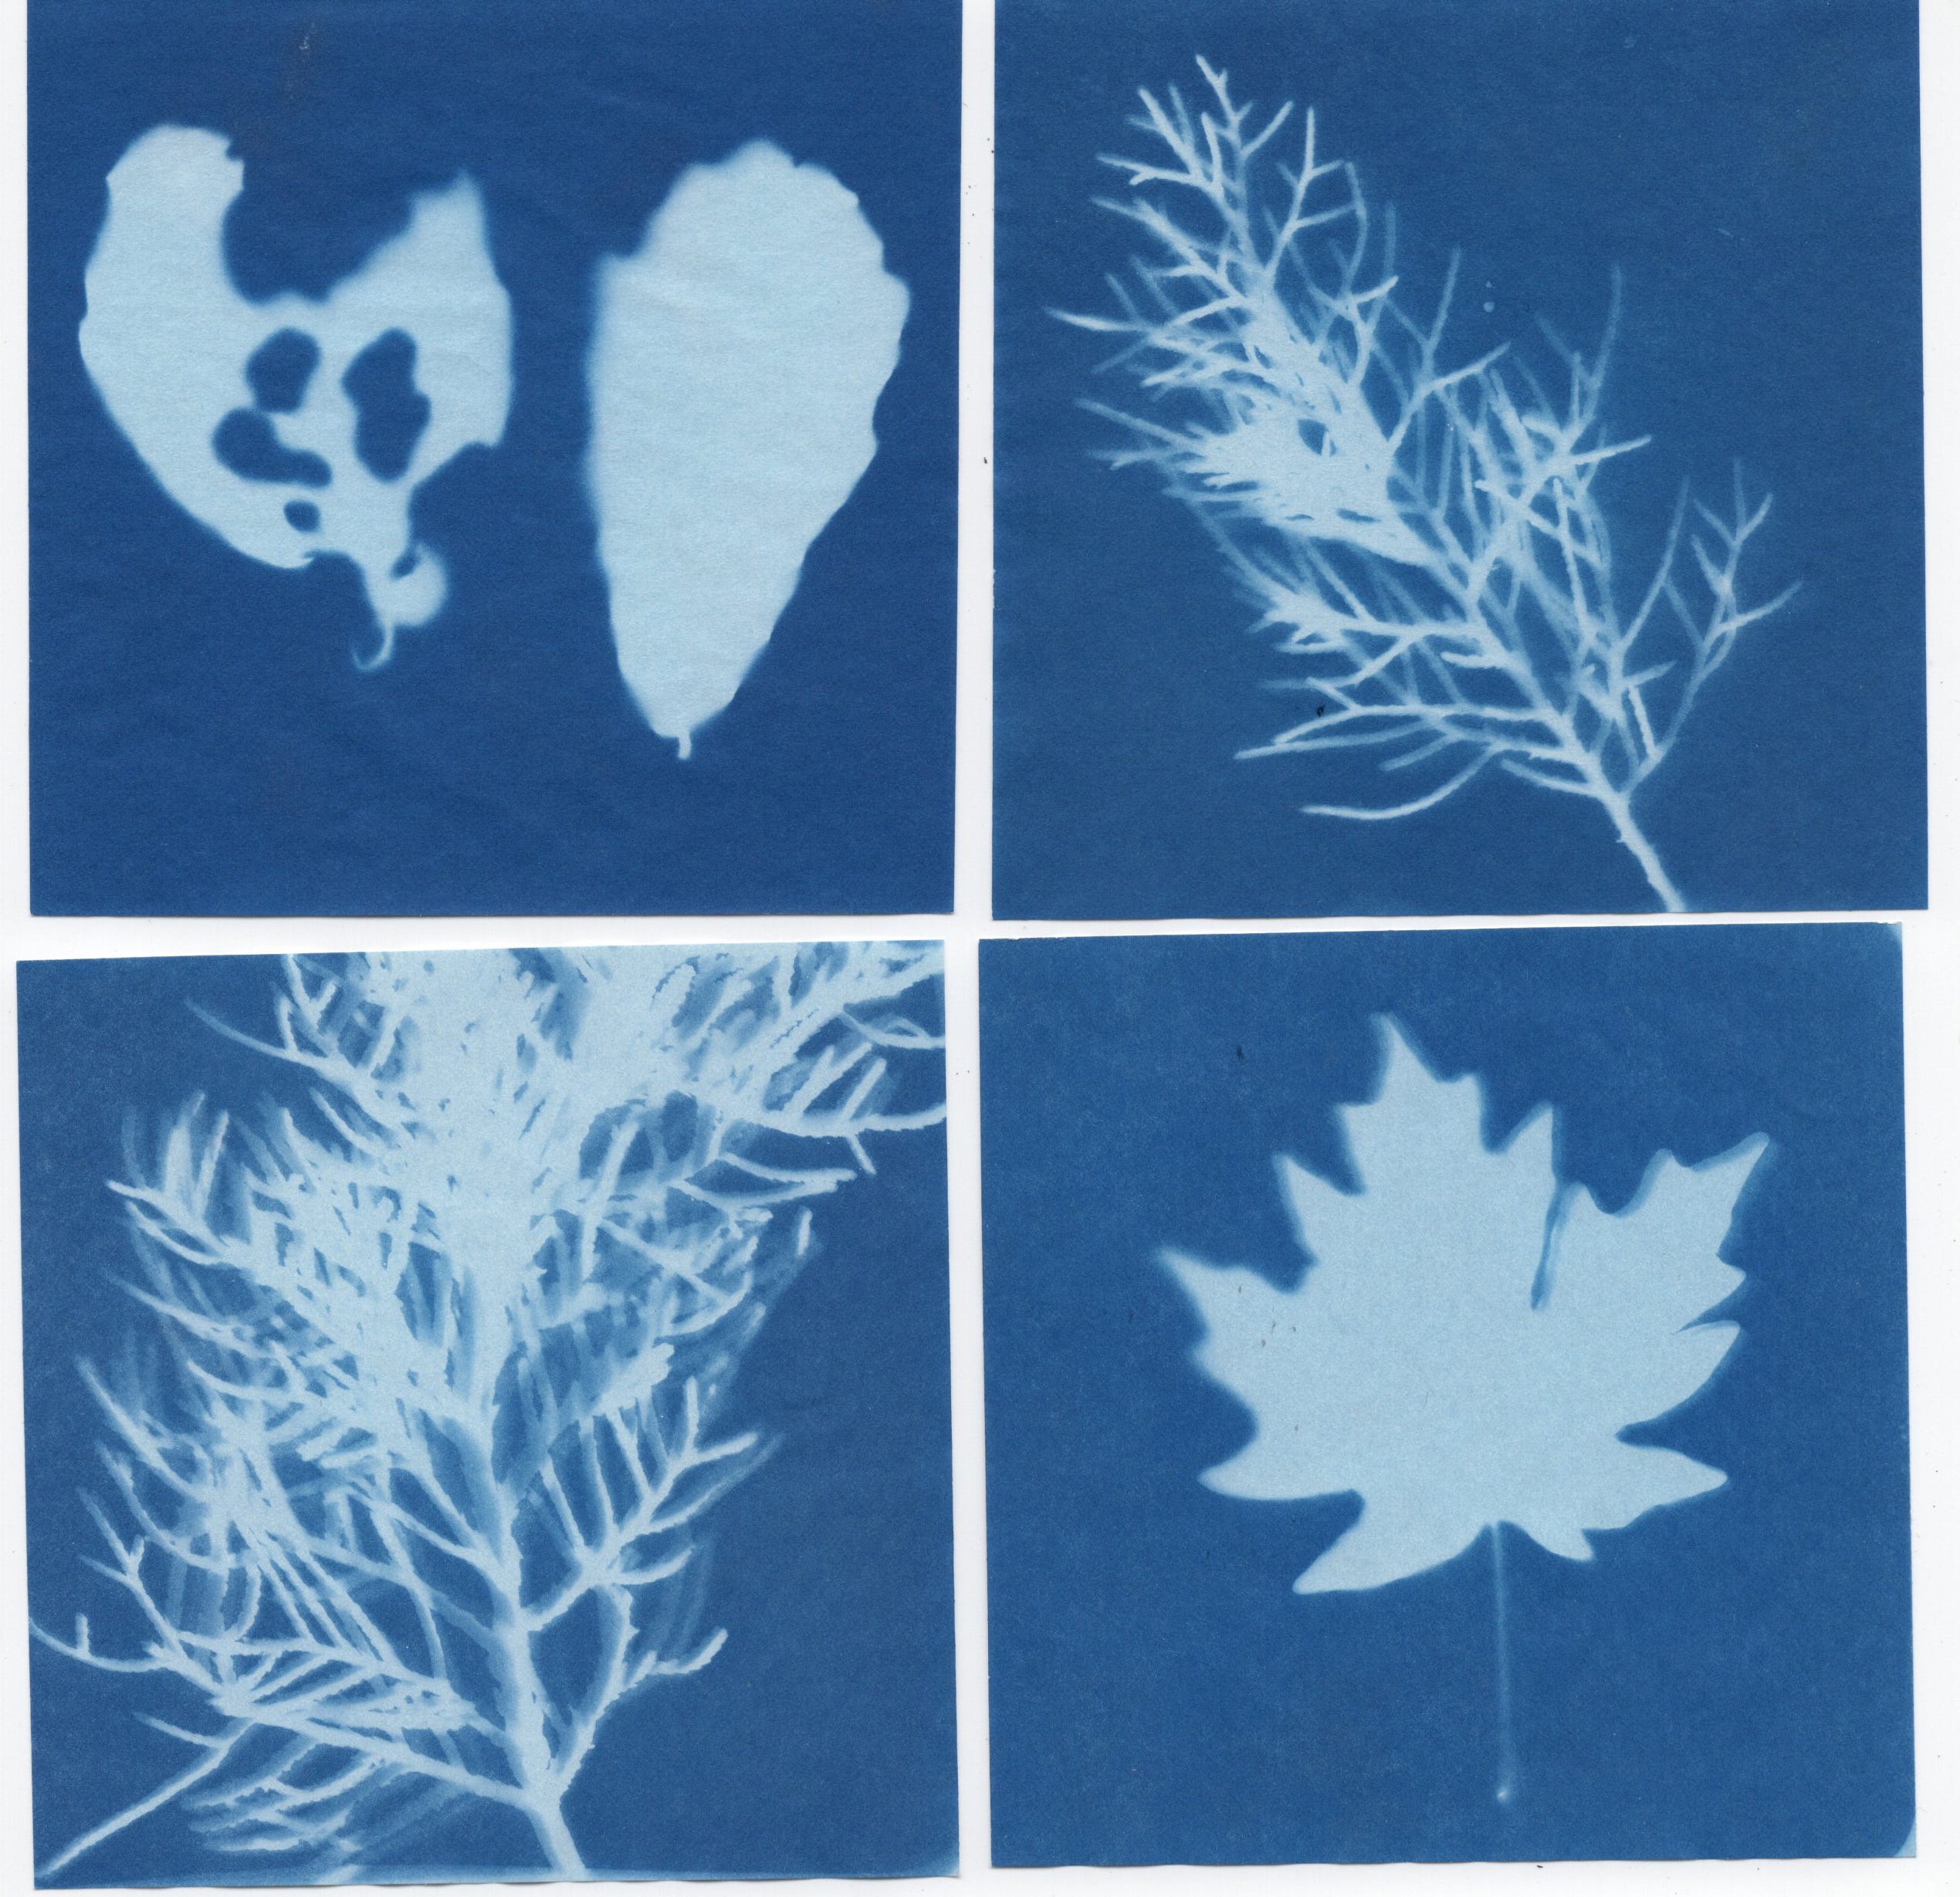
Begin by finding your subject. I love to find leaves and plants and relatively flat and might be complicated or hard to sketch, like lichen or something with lots of ridges or branches. I also like shapes with interesting negative space, like holes chewed through a leaf. If I am not going to print them right away I will press them inside my sketchbook. This also allows the subject to dry and flatten, both of which are helpful for cyanotype.


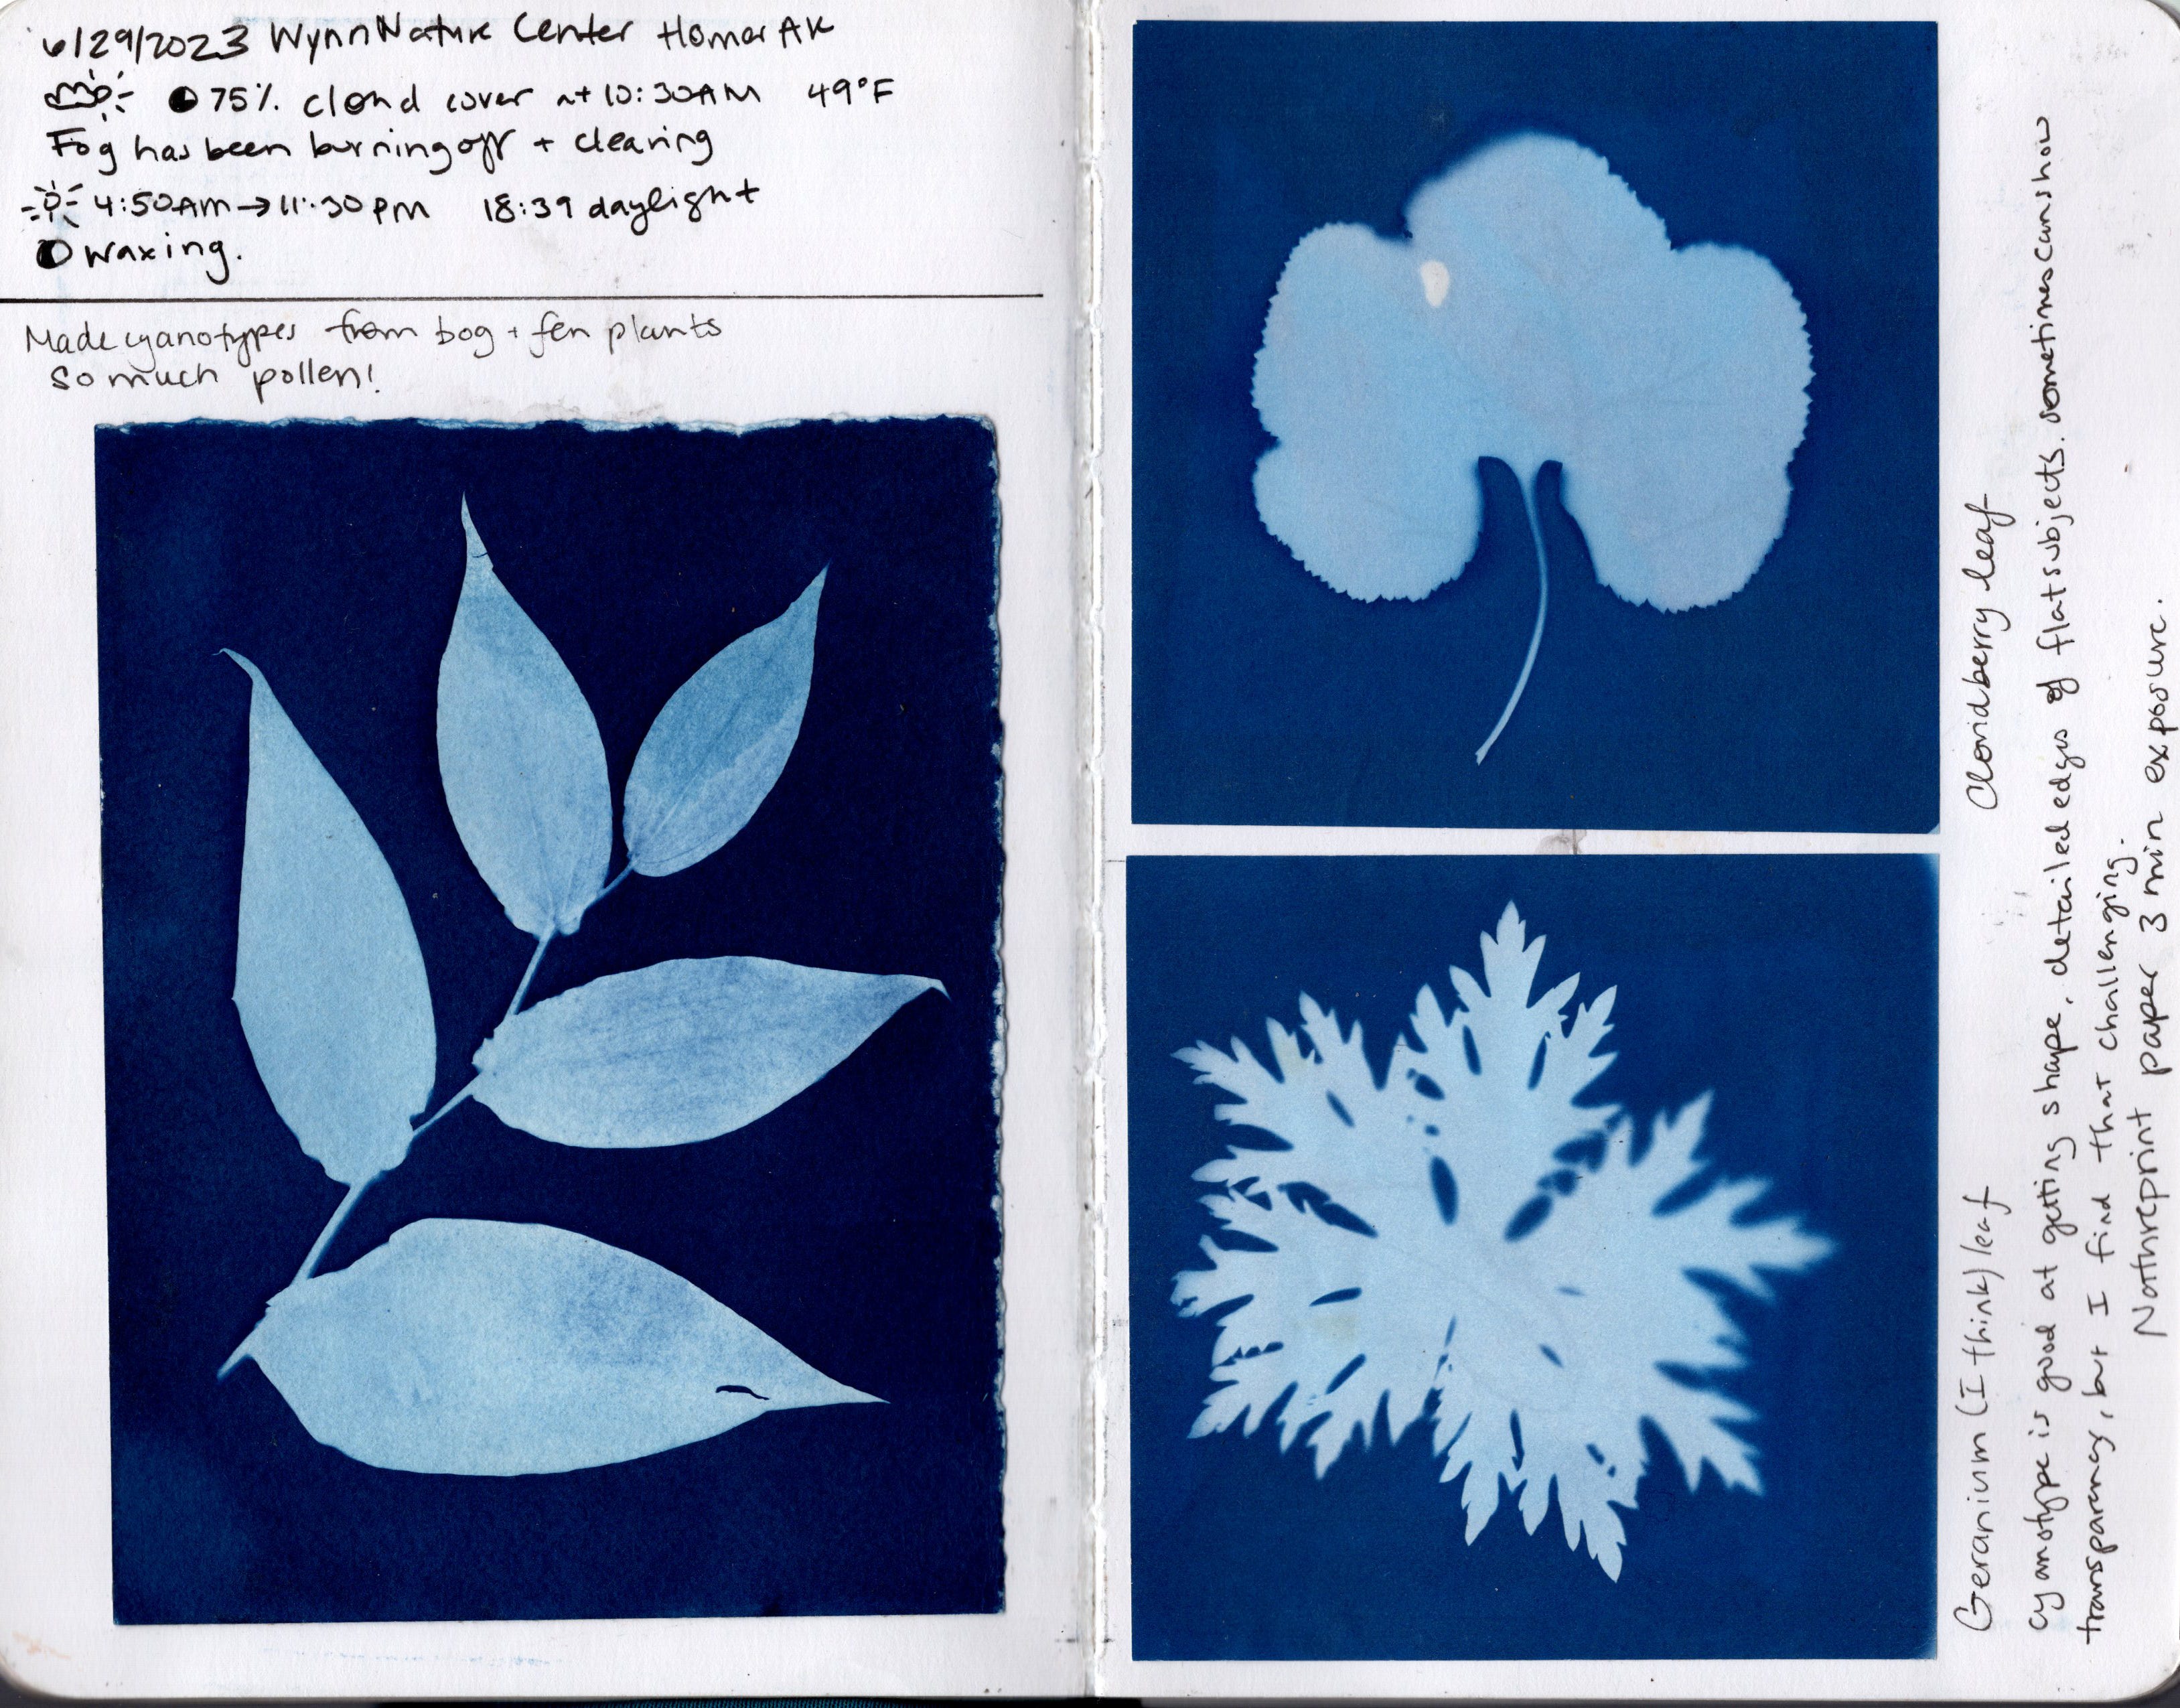
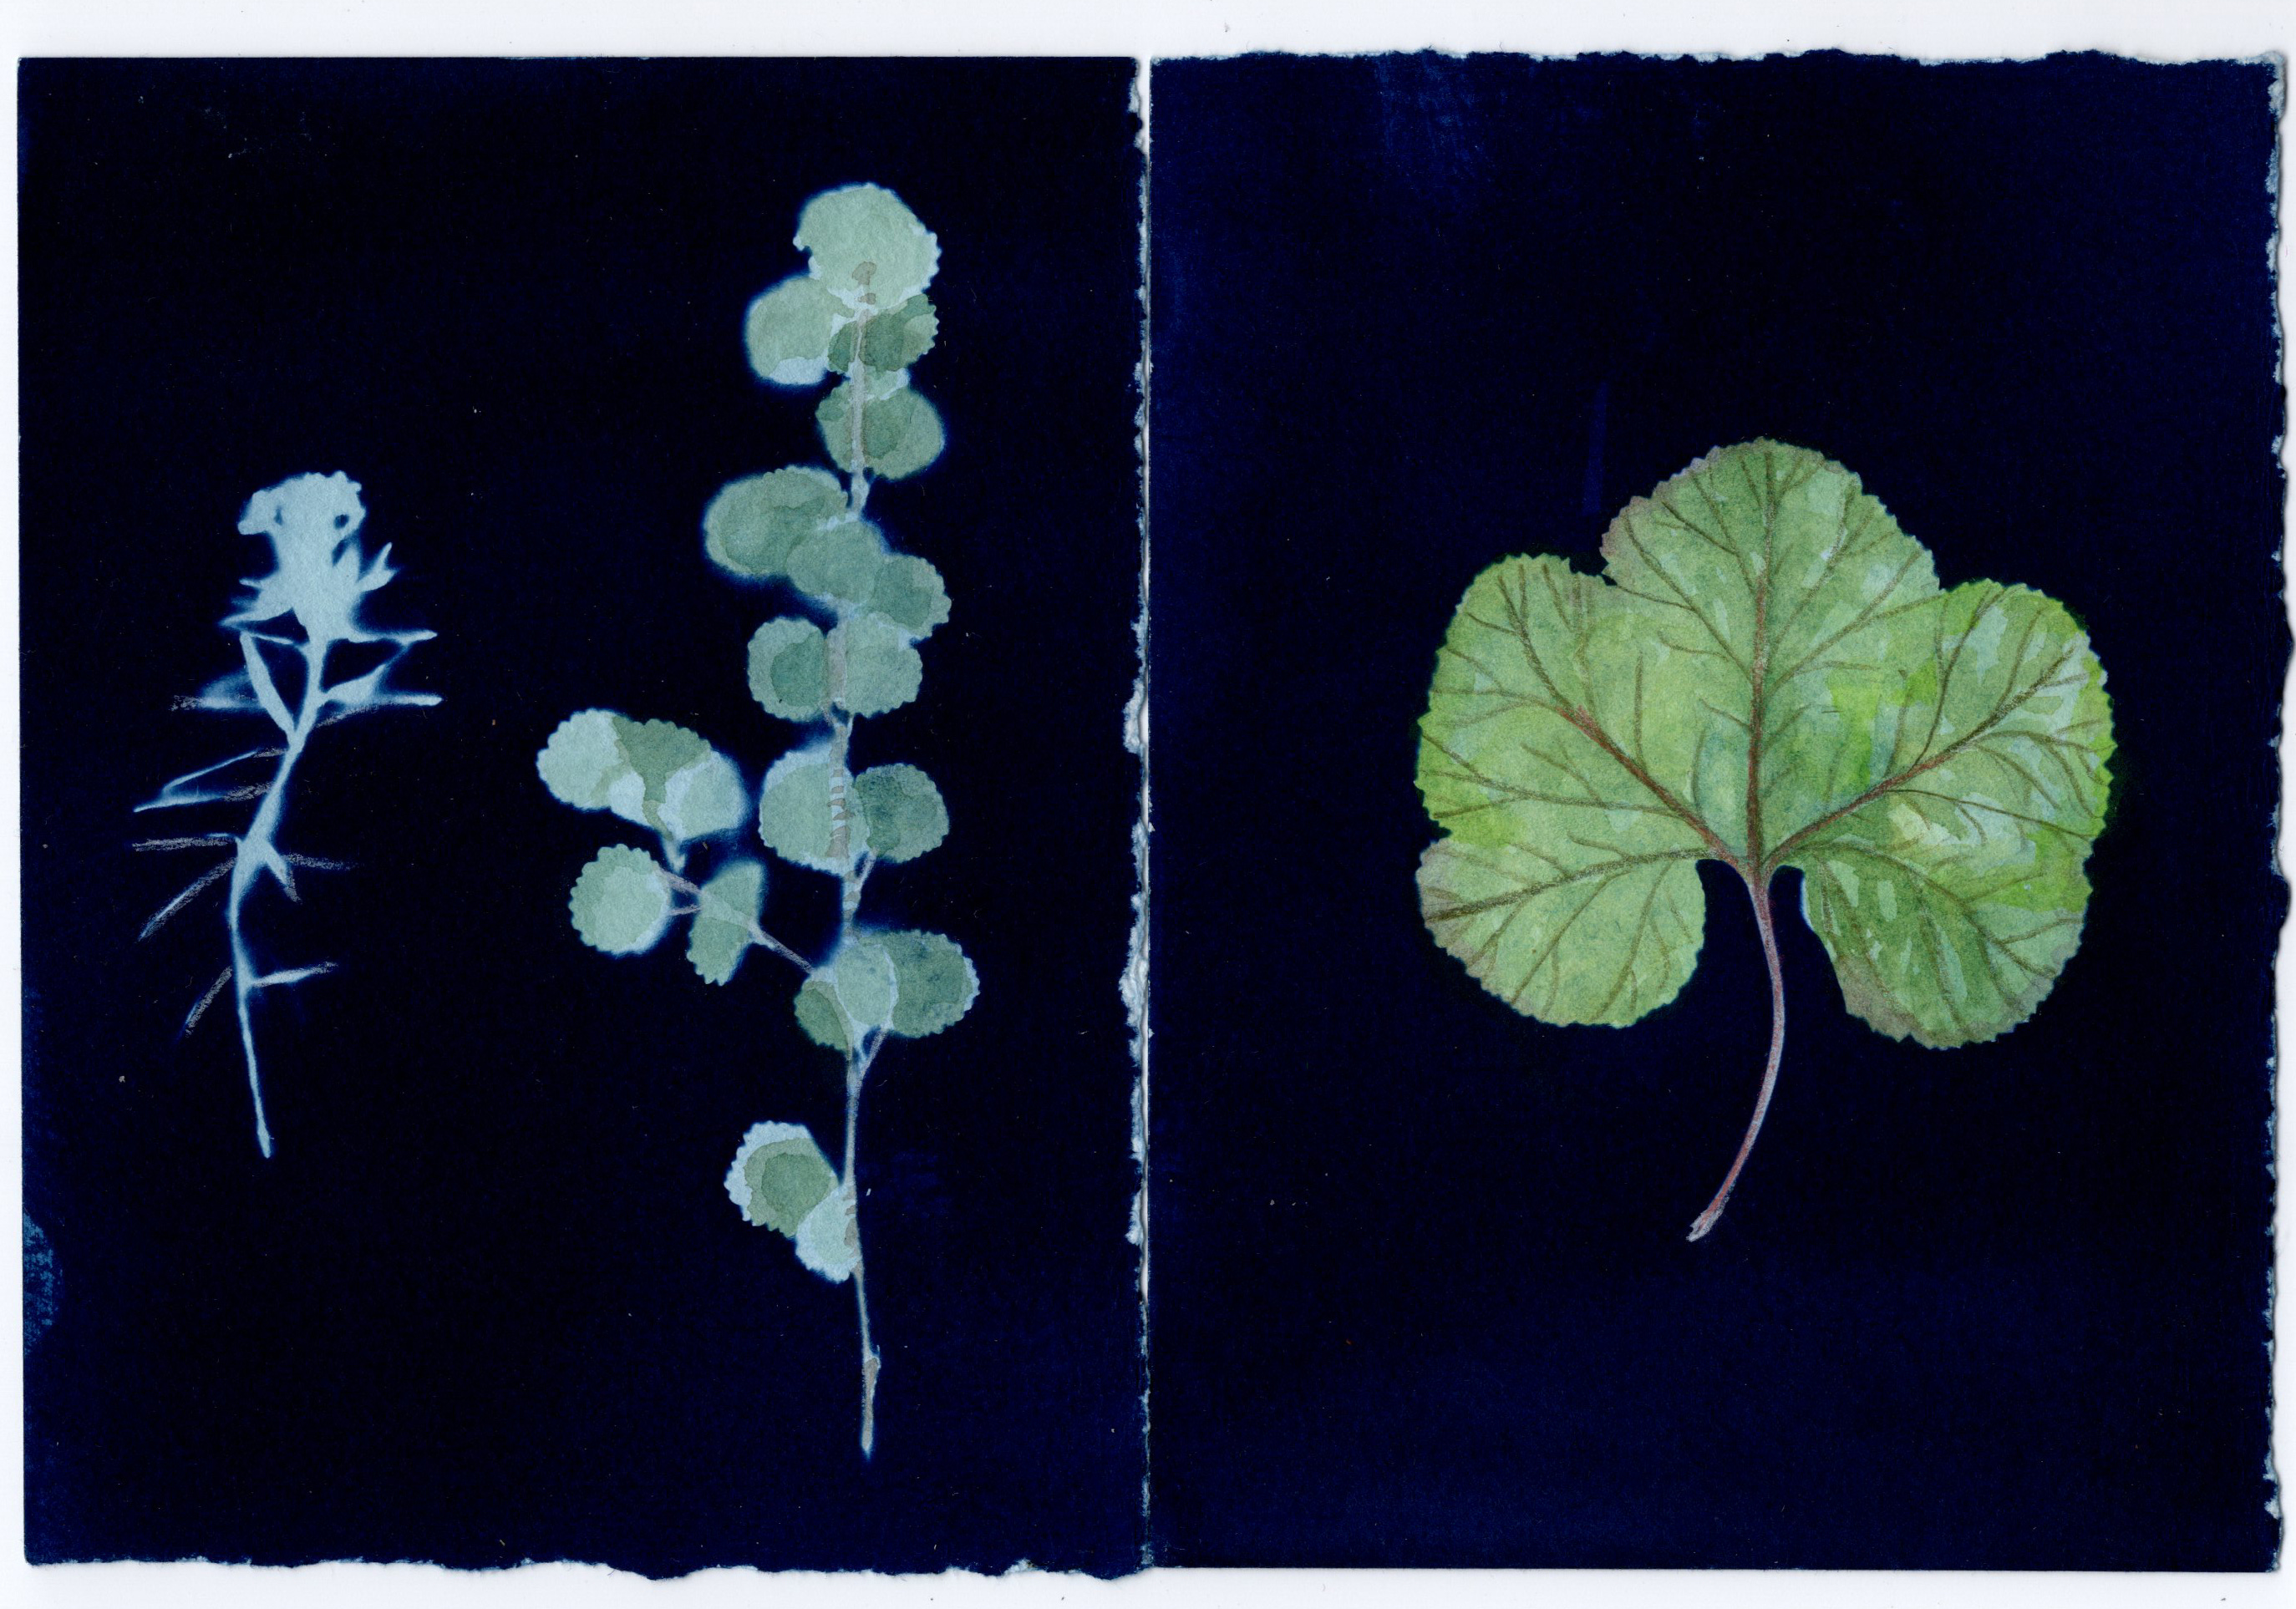
Once I have my subjects, I follow the instructions on the back of the kit. The kit I use has slightly different chemistry than I am used to and the process looks different when I make my own paper, but it works. I put the subject on top of the cyanotype paper (blue side up) inside the little folder with the window and tape it shut. Then I set it out in the sun for two minutes paying attention to the wind or any shadows that might be cast on the surface of the paper. After exposure the paper turns pale. I remove the print from the sun, take the paper out, and immediately put it in my container with water. I’ll let the paper rinse off for a few minutes. Once it is dry I can glue or tape it into my sketchbook. I can add notes, or color, draw, or paint on the cyanotype. Sometimes it is fun to fill in the negative space that you created in the print.

One thing I love about cyanotype is that it is endlessly flexible and versatile. People do all kinds of amazing and creative work with it. Take this post as a starting point, but make it your own. I’m going to share more about my non-journaling work with cyanotype next time.
I’d love to hear if you’ve tried cyanotype in your nature journal and what you’ve discovered.
Wow, I just saw this post. Yesterday I took a beginning cyanotype workshop here in Tucson. Hadn’t thought about putting it in a journal! Thanks for a great post—I love surprises.
Oh fun! I use to use this with my elementary students long ago but never thought about it for my journal. Thanks so much for sharing. I will have to give it a try.